News From The Farm, and Homemade Yogurt
It feels like life on the farm has gotten busy, but I really can’t say we have accomplished much more than usual.
I joined the sub roster at my daughter’s school and have been called several times. Monday and Tuesday I subbed for my daughter’s teacher, and my already healthy respect for her grew ten fold. Honestly, she has a great bunch of students, and five year olds are just a lot of fun, but what a lot to keep up with! I still wish we could homeschool, but we’re just not there, and this is almost as nice.
The new pup has settled in and is part of the family. Don’t you just love the smell of a puppy? She is a smart dog, but her body has outgrown her brain, as pup’s bodies do. She has learned, with the help of our three year old, to go up the stairs. Perhaps next she will learn to come back down.
The spring-like weather we were having last week ended Sunday afternoon. Sunday morning we played at the park wearing only sweatshirts (okay, not only sweatshirts), and came home to a snow free yard. We even tinkered in the garden area a bit. By evening we had three fresh inches of snow and now it’s more like six or seven. I am confident, though, that this is Winter’s last push and I’m standing by my prediction that I’ll have dirt between my toes in the second half of March.
The seedlings I started two weeks ago are up and doing well. I think it’s funny that the “Early Jalopeno” peppers were the last to germinate. My husband was right though, the broccoli and cabbage were already getting leggy, so we transplanted them into peat pots, burying them to just below the leaves.
Homemade Yogurt
Dang! If I had realized making yogurt was going to be so easy I’d have done it years ago. I actually did this project a couple weeks ago, but never got around to writing about it. I followed the directions given in Storey’s Country Wisdom and Know How, but there are a lot of directions on the internet, and they are all basically the same.
Ingredients:
- 1 Qt milk
- 1/3 c instant dry milk (optional, adds protein and makes thicker yogurt)
- 1 rounded tbsp plain active yogurt (or equivalent starter culture)
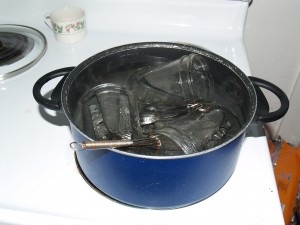
 First make sure your cooking implements are sterile by scalding them. I hold my sterilized jars in a warm oven until I need them. Rogue bacteria can impart off flavors to your yogurt. We only want the yogurt bacteria to grow.

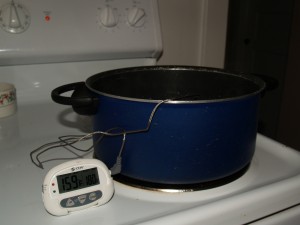
My husband bought me this fancy thermometer, which will sound an alarm when the target temp is reached.
Next scald your milk by bringing it to 180 degrees over a medium burner. After the milk has reached 180 remove it from the heat source and allow it to cool to approximately 110 degrees. Add your yogurt and dried milk and stir thoroughly. If you’d like you can pour the mixture into smaller containers for incubating. I used pint jars.
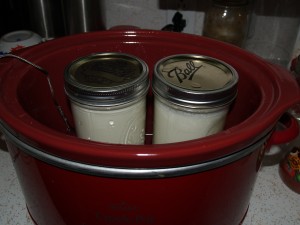
To incubate my yogurt I put an inch or so of warm water in a slow cooker, then added my containers of yogurt. I set the cooker to “warm” then covered the whole works with a heavy towel. I left a thermometer in the slow cooker and checked it every hour or so. If the temp was creeping above 112 or so I’d turn it off, and when the temp dropped below 108 I’d turn it back on for a few minutes. Temps closer to 120 yield a more tart yogurt, and temps too low won’t propogate the cultures.
After about five hours, test the set by gently tipping a jar of yogurt. Keep the lid on in case it is still fairly liquid. It should be set up by this point, but if not, continue to incubate it until it has thickened. When your yogurt has reached the consistency you like you can refrigerate it for about a week, adding fruit or flavorings when you are ready to eat it.
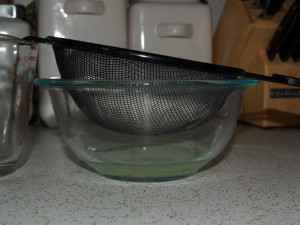
I added the step of straining my yogurt to make it “Greek”. When you strain the yogurt, the whey takes much of the lactose with it, leaving you with a low carb, high protein end product. It also makes a thicker, more decadent yogurt. I use it as one would commonly see yogurt at the store, mixed with fruit, or vanilla, but I also use it plain in place of sour cream.
After I made this good yogurt, my friend, Amy, one-upped me by making the most delicious cream cheese I have ever tasted. I’ll have to try that next and let you know how it goes!
Like Half Acre Heaven on Facebook!
Find more great recipes and ideas at No Ordinary Blog Hop!


